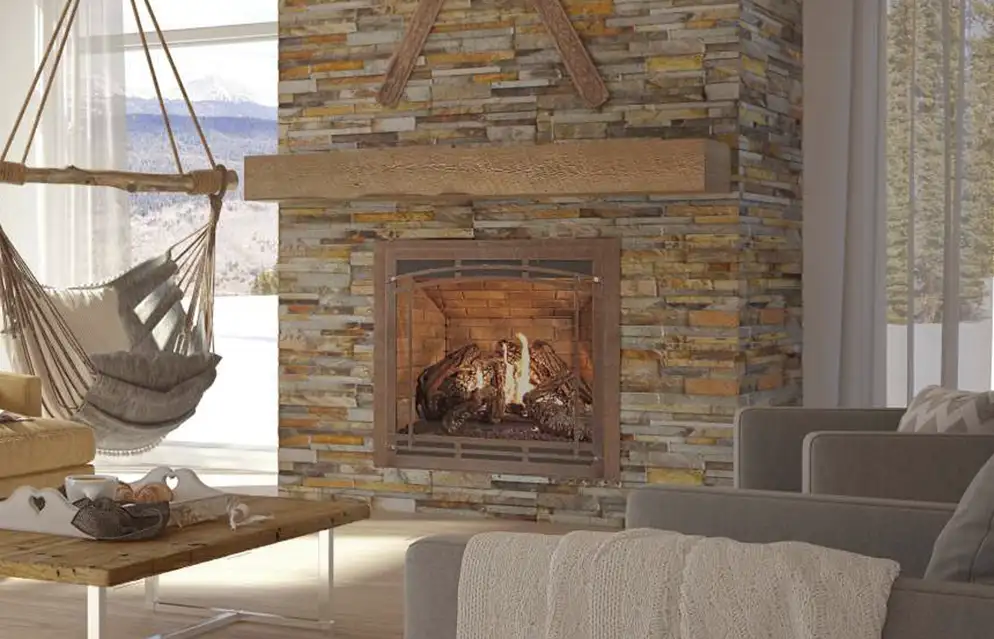
Top Hat sells a variety of non-combustible mantels that we install. We do have some customers that don’t have a very large project and they only wish to pick up a mantel to install themselves. Watch the video below and follow these steps for how to install the Ambiance Non-Combustible Mantels.
- Unpack and locate the mounting bracket and hardware from the box.
- Determine the vertical and horizontal center of the top of the mantel. Mark the location by drawing a horizontal line.
- Measure the distance from the bottom of the mantel to the top to find mount placement.
- Transfer the measurements onto the wall and make a level reference line.
- Temporarily mount the mounting bracket to locate the stud location.
- Remove temporary mount and mark stud locations for reference.
- Using a 1/8” drill bit, drill holes into the mounting bracket to use 2 ½” point screw.
- Install centered mounting bracket with the 2 ½” sharp point screws.
- With two people, lift mantel over mounting bracket.
- When centered and flush against the wall, place one 2/14” self-drilling screw in the center pre-drilled hole on the top of the mantel.
- Screw through until fastener head is flush with the countersunk hole. Do Not Over-Tighten. Do Not Screw Through the Bottom of the Mantel.
- Once installed, fill in surrounding mantel area with final finishes to complete the project.