You are the proud owner of a new gas fireplace or insert with a millivolt valve system. Because of the millivolt valve system, your appliance has a seven-day pilot shutoff timer. This timer helps conserve fuel and save money by turning the pilot off when the appliance is not used for seven days. The appliance will function normally as long as the burner is turned on within a seven-day window. Each time the burner is turned on, the seven-day timer resets. If the burner is not turned on within a seven-day window, the pilot will automatically shut off to conserve fuel. If the pilot is turned off, it will need to be manually re-lit. The purpose of this video is to show you how to manually re-light your millivolt valve system. So, let’s go ahead and get started.
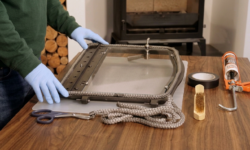
The very first step you must do in order to re-light the pilot on your millivolt gas appliance, is you must remove the glass. So, please refer to the owner’s manual that came with your appliance whether it’s a stove or an insert or a fireplace, the glass must be removed. This is done by unlatching the glass clips and then removing the glass. Once this is done, we can move on to the next step.
With you glass removed, we’re able to go to the next step of re-lighting your pilot. First we must locate our gas valve. If you’re unsure where your gas valve is, please refer to your owner’s manual which will give you the location and how to access your valve. With the front of the gas valve exposed, we’re able to re-light the pilot.
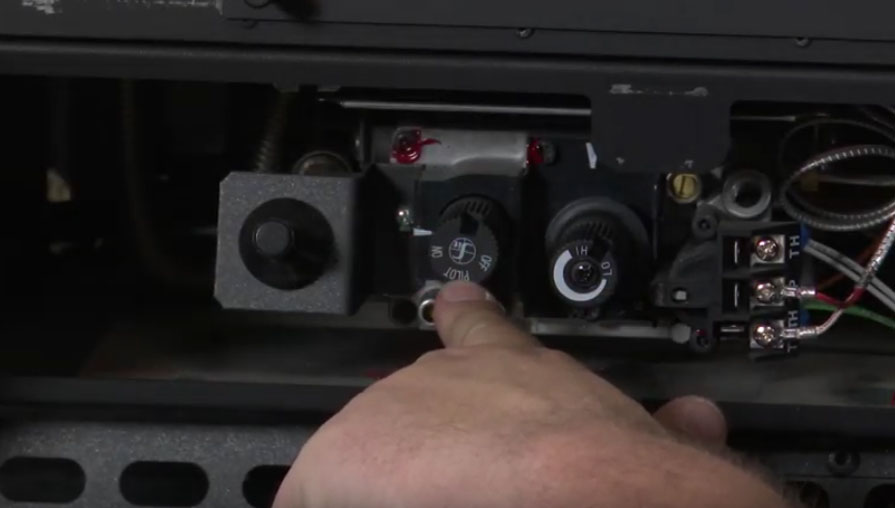
The first step is to make sure that the main burner switch is turned off, which it is on this appliance. We will then locate the operator knob which is the knob shown on the video. Notice that there is a marker right here and that is pointed to the on position for this gas valve. This gas valve has turned itself off via the seven-day timer so we’re trying to re-light it. Even if the valve is in the off position, which I now have marked it off, these same procedures will work.
The first step in lighting your pilot is to turn this knob by pressing it in and having the marker lined up with the pilot indicator on the knob. As you see here, with it in this position, we will press this knob in and immediately begin pressing the igniter. You might need to press it several times in order to get the pilot to light. Once the pilot lights, you’ll either be able to see it or hear that the pilot is lit. You will then continue to hold this knob in for approximately 30 seconds. Once you are able to remove your finger from the knob and the pilot stays lit, you know that the pilot is going to continue to operate.
The next step will be to press the knob in just a little bit and turn it to the on position. Now that the marker is lined up with the on, now the valve is in the standby mode and ready to resume normal operation. The next step would be to replace your glass and then turn the burner on and verify that everything is working properly. If the pilot does not light after several tries, turn the gas control knob to the off position. Call Top Hat’s service department and have them come out and have a look at the appliance and re-light it if necessary.
One option to keep your pilot running throughout the heating season is to add the basic green smart wireless thermostat remote. This remote will operate the appliance thermostatically and maintain the room temperature you set. In addition, each time the remote turns the appliance on, the seven-day pilot shutoff timer is reset; thus preventing the need to manually re-light the pilot. If you would like to add a basic green smart wireless thermostat remote to your appliance, give Top Hat a call.